


Last Updated: 27 November 2025
Author: Senior Fire Safety Engineer, Fiffco Global
Table of Contents
- Introduction: Why Proper Fire Hydrant Cabinet Installation Matters
- What Is a Fire Hydrant Cabinet? (Purpose & Components)
- Regulatory Requirements & Standards You Must Follow
- Tools & Materials Needed for Proper Installation
- How to Install a Fire Hydrant Cabinet (Step-by-Step Guide)
- Site Assessment
- Measuring & Mounting Height
- Wall Preparation
- Cabinet Mounting
- Installing Fire Hose, Nozzle & Valve
- Pressure Testing & Final Inspection
- Common Installation Mistakes (And How to Avoid Them)
- Safety Checks + Post-Installation Maintenance Tips
- Real-World Case Study: Proper Cabinet Installation on a Commercial Site
- FAQs: Fire Hydrant Cabinet Installation
- Conclusion & Key Takeaways
- About the Author (Fiffco Global)
1. Introduction: Why Proper Fire Hydrant Cabinet Installation Matters
A fire hydrant cabinet may appear to be a simple enclosure, but during an emergency, it becomes one of the most critical life-saving fire protection components inside any building. Unfortunately, many buildings—including commercial, industrial, and residential complexes—have hydrant cabinets installed incorrectly: improper height, unsecured brackets, poor hose alignment, or non-compliance with fire codes.
These mistakes lead to:
- Delayed emergency response
- Damaged hoses and valves
- Increased fire risk
- Failed safety inspections
But proper installation prevents all of this.
In this comprehensive guide, you will learn:
- How to correctly install a hydrant cabinet
- Tools and materials required
- Exact mounting height and location standards
- Common mistakes and how to avoid them
- Real-world lessons from site experience
- Inspection and safety requirements
As a fire safety engineer working with Fiffco Global, I’ve overseen the installation of hundreds of hydrant systems across commercial buildings, industrial facilities, and high-rises. This guide is written from both technical expertise and real field experience to give you practical, trustworthy insights—not just theory.
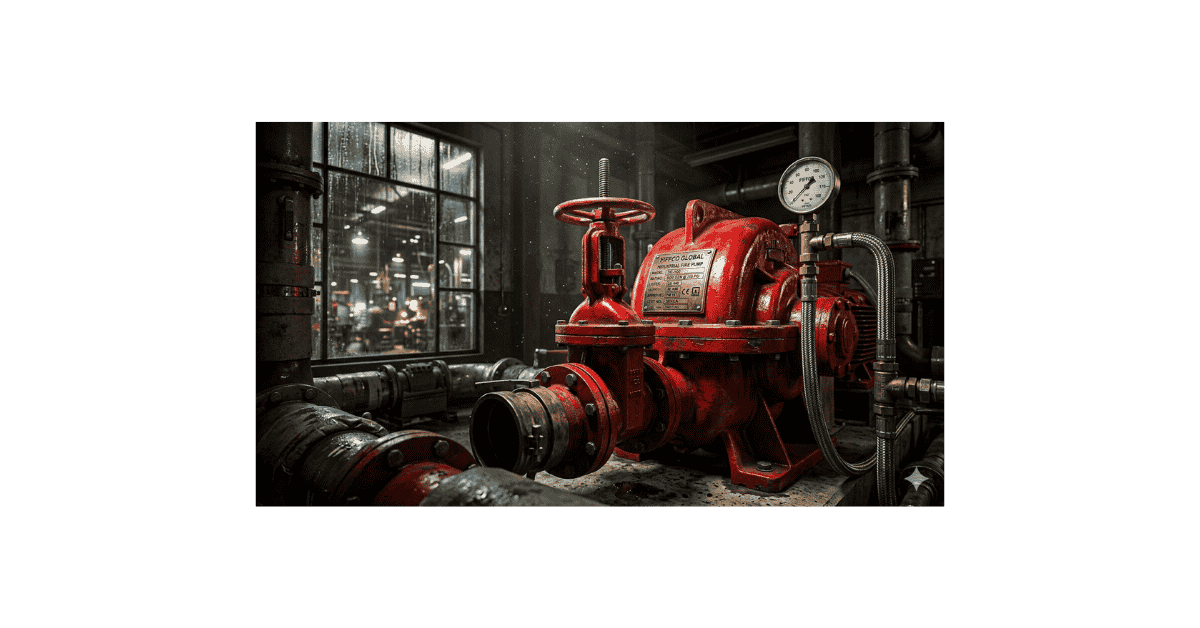
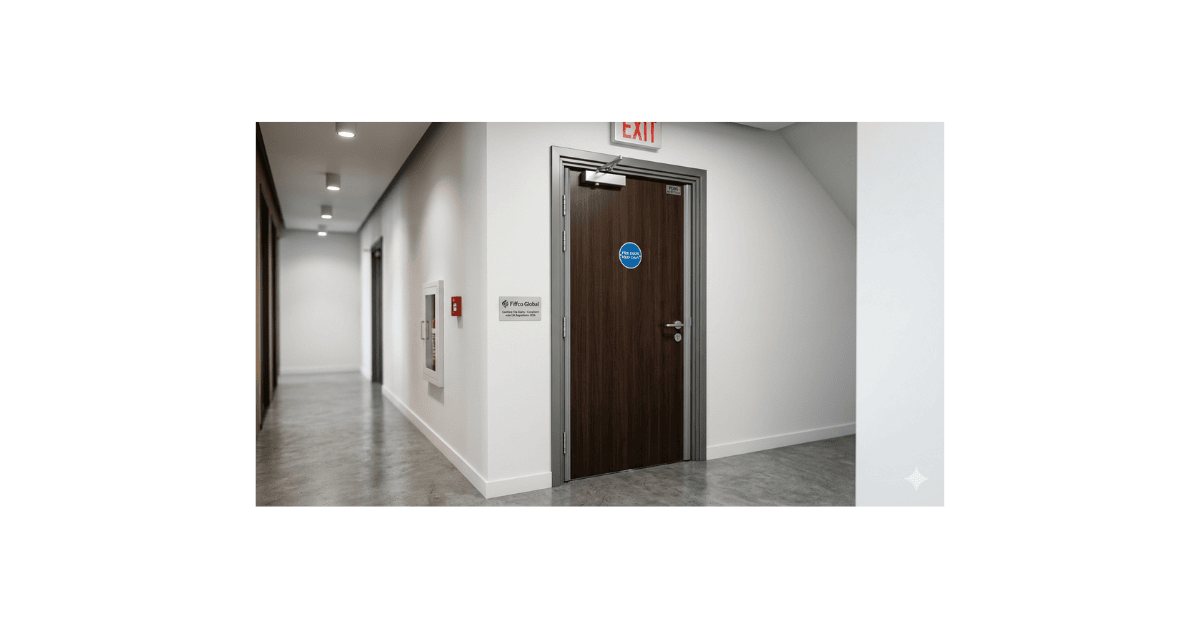
2. What Is a Fire Hydrant Cabinet? (Purpose & Components)
A fire hydrant cabinet is a wall-mounted protective enclosure designed to house firefighting equipment, typically:
- Fire hose (canvas or rubber-lined)
- Hose reel (optional in some systems)
- Branch pipe/nozzle
- Landing valve
- Hydrant key & bar
- Fire extinguisher (in combo models)
Purpose of the Hydrant Cabinet
- Protects equipment from dust, corrosion, heat, and vandalism
- Ensures quick accessibility during a fire emergency
- Maintains compliance with fire codes and safety regulations
- Organizes equipment neatly to reduce response time
Types of Hydrant Cabinets
- Surface-mounted cabinets
- Recessed or semi-recessed cabinets
- Single-door or double-door
- Stainless steel / Mild steel powder-coated
- Cabinets with hose reel + valve combinations
Choosing the right cabinet depends on:
- Local building code
- Available wall depth
- Traffic area
- Environmental exposure
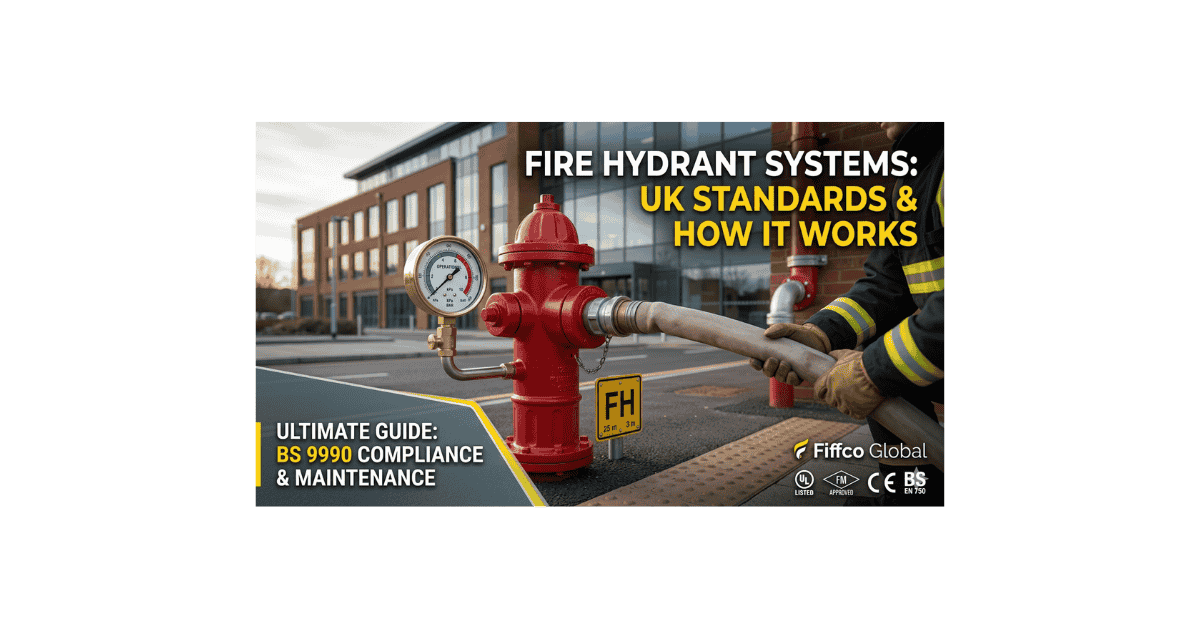
3. Regulatory Requirements & Standards You Must Follow
Proper installation is not just recommended—it’s legally required.
Fire hydrant cabinet installation is governed by international and national fire safety standards, such as:
Primary Standards
- NFPA 14 – Standard for Installation of Standpipe and Hose Systems
- NFPA 24 – Private Fire Service Mains
- ISO and EN standards for fire hydrant equipment
- Local building codes and fire department guidelines
Key Requirements
- Cabinet door must open fully without obstruction
- Minimum mounting height: 900mm to 1200mm (centre from finished floor)
- Landing valve should be accessible without bending or stretching
- Hose length must match the building’s coverage zone
- Cabinet should be corrosion-resistant in coastal or industrial areas
- Clear identification: “FIRE HYDRANT” or “FIRE HOSE” markings
Always check your local fire authority rules before installation, as jurisdictions may have additional requirements.
4. Tools & Materials Needed for Proper Installation
Before starting the installation, prepare the following tools:
Tools
- Hammer drill
- Measuring tape
- Level meter
- Spanner/wrench set
- Anchors & bolts
- Screwdriver
- Pipe wrench
- PTFE (Teflon) tape
- Marker
- Ladder
Materials
- Fire hydrant cabinet
- Landing valve
- Nozzle/branch pipe
- Fire hose (30m or as required)
- Hose reel (if applicable)
- Pipe fittings & connectors
- Anchor bolts
Having everything ready ensures a smooth, error-free installation.
5. How to Install a Fire Hydrant Cabinet (Step-by-Step Guide)
This is where expertise and field experience truly matter. Below is the same process professional fire safety teams use, including Fiffco Global’s installation protocols.
Step 1: Site Assessment
Before installation, you must assess:
- Wall strength and material
- Water line proximity
- Visibility and accessibility
- Traffic flow
- Emergency exit route
- Fire zone requirements
Pro Tip (from field experience):
Avoid installing cabinets behind furniture, pillars, or decorative walls—80% of inspection failures happen due to accessibility issues.
Step 2: Measure & Determine the Mounting Height
The recommended height is:
- Centre of cabinet = 900mm – 1200mm above finished floor level
This ensures:
- No bending to access hose
- Visible placement for emergency responders
- Compliance with NFPA and local codes
Mark the wall with a permanent marker after confirming the location.
Step 3: Wall Preparation
Depending on wall type (concrete, brick, drywall, etc.):
- Drill holes using a hammer drill
- Insert appropriate anchor bolts
- Ensure the wall is level and stable
- Remove debris that might affect alignment
Field Tip:
For drywall partitions, use heavy-duty anchors to prevent the cabinet from pulling off during emergencies.
Step 4: Mounting the Cabinet
Lift the cabinet and position it correctly.
- Align with the previously marked height
- Ensure cabinet is completely level
- Insert bolts and tighten securely
- Keep door clearance unobstructed
A properly mounted cabinet should not move or wobble.
Step 5: Installing the Fire Hose, Nozzle & Landing Valve
Inside the cabinet:
1. Connect the Landing Valve
- Use Teflon tape to seal joints
- Keep the valve handle facing outward
- Ensure the valve is vertically aligned
2. Attach the Fire Hose
- Roll the hose neatly (double roll or flat roll)
- Ensure no kinks are present
- Attach hose coupling to landing valve outlet
3. Connect the Branch Pipe / Nozzle
- Store it on the hook or shelf provided
- Check that nozzle is easily removable
4. Install Hose Reel (if required)
- Fix reel base plate
- Connect inlet pipe
- Test rotation for free movement
Step 6: Pressure Testing & Final Inspection
No hydrant cabinet installation is complete without testing.
Perform the following tests:
- Check valve leakage
- Test water flow pressure
- Ensure hose can fully deploy
- Inspect hose reel rotation
- Confirm cabinet door opens smoothly
Minimum flow pressure:
- 65 psi to 100 psi (depending on building requirements)
Inspection Checklist
- Correct height
- No leakage
- Proper hose rolling
- Fully accessible cabinet
- Clear labeling
- No obstruction within 1 meter
Once everything is approved, the system is ready for operation.
6. Common Installation Mistakes (And How to Avoid Them)
Through years of field experience, I’ve noticed several recurring mistakes:
❌ Incorrect mounting height
Leads to accessibility issues during emergencies.
❌ Obstructed cabinet placement
Behind furniture or in narrow corridors.
❌ Loose anchor bolts
Dangerous during high-pressure hose operation.
❌ Poor hose rolling
Often results in water flow blockage.
❌ Missing PTFE tape
Causes leaks and inspection failure.
❌ Not pressure testing
Shows up only during emergencies—too late.
Avoiding these mistakes ensures long-term reliability and compliance.
7. Safety Checks + Post-Installation Maintenance Tips
Even after installation, ongoing safety checks are essential.
Monthly Maintenance
- Inspect hose condition
- Confirm cabinet cleanliness
- Check for rust or paint damage
- Ensure all components are correctly placed
Bi-Annual Testing
- Pressure test water flow
- Check valve seal
- Inspect hoses for cracks or mold
Yearly Maintenance
- Replace damaged gaskets
- Repaint rusted surfaces
- Replace worn hoses
A well-maintained cabinet can last 10–15 years with proper care.
8. Real-World Case Study: Commercial Installation by Fiffco Global
In 2024, our team at Fiffco Global installed over 300+ hydrant systems in a commercial building project in the UK.
Challenges Identified:
- Narrow corridors
- Decorative walls
- Exhaust duct interference
- Limited wall depth
Solutions Applied:
- Used semi-recessed cabinets to save space
- Selected stainless steel cabinets for durability
- Re-routed water line for better accessibility
- Installed photoluminescent signage for nighttime visibility
Outcome:
- 100% compliance with UK fire standards
- Passed all safety inspections
- Delivered on-time installation
- Building achieved a higher fire safety rating
Real experience ensures practical, safe, and compliant installations every time.
9. FAQs: Fire Hydrant Cabinet Installation
Q1: What is the ideal height for installing a hydrant cabinet?
900mm–1200mm from finished floor level.
Q2: Can a hydrant cabinet be installed outdoors?
Yes, but use weatherproof stainless steel cabinets.
Q3: Do I need a fire engineer for installation?
Highly recommended for compliance and safety testing.
Q4: Can I install a cabinet behind glass?
Yes, but ensure glass is breakable and approved for fire use.
Q5: How often should hydrant cabinets be checked?
Monthly visual inspections + annual pressure tests.
10. Conclusion & Key Takeaways
Installing a fire hydrant cabinet the right way is essential for:
- Building safety
- Emergency readiness
- Fire code compliance
- Equipment longevity
This guide gives you:
- Expert, field-tested installation steps
- Regulations and standards to follow
- Tools and materials required
- Mistakes to avoid
- Maintenance tips for reliability
If you follow every step outlined here, your installation will be safe, compliant, and inspection-ready.
For premium-grade fire hydrant systems and professional installation services, explore Fiffco Global at:
🔗 https://fiffco.co.uk/
11. About the Author (Fiffco Global)
This article is written by a Senior Fire Safety Engineer at Fiffco Global, a leading provider of fire protection systems, firefighting equipment, MEP consultancy, and global safety engineering solutions. With years of field installation experience, thousands of successful projects, and deep knowledge of international fire safety standards, our goal is to deliver trusted, accurate, and experience-based guidance for safer buildings worldwide.
 Book a Consultation: https://fiffco.co.uk/
 Email: info@fiffco.co.uk
Your safety deserves nothing less.
Explore more fire safety resources at Fiffco Global
Need help with fire door audits? Contact our team
Subscribe to our newsletter for monthly safety tips